
Fresh Dill on Your Windowsill, Any Time of Year
Growing dill indoors easily is something almost any home cook can do — even without a garden, a green thumb, or much space.
Here’s the quick version:
- Choose a compact variety like Fernleaf or Dukat
- Use a deep container (at least 12 inches) with drainage holes
- Give it 6+ hours of sunlight daily, or 12 hours under a grow light
- Sow seeds ¼ inch deep, keep soil slightly moist
- Harvest leaves in 6-8 weeks once the plant reaches 8-12 inches tall
That’s really it. Dill is a low-fuss herb that grows well in containers and doesn’t need much attention once it’s settled in.
Dill’s feathery leaves pack a punch of fresh, tangy flavor that dried dill from a jar simply can’t match. Whether you’re making pickles, topping salmon, or stirring it into a dip, fresh dill makes a real difference.
The best part? Growing it indoors means you have it year-round — no waiting for the right season, no last-minute grocery runs.
Dill seeds germinate in as little as 7-14 days and produce harvestable leaves in just 6-8 weeks. Even in a small kitchen or apartment, a single deep pot on a sunny windowsill is enough to keep you well stocked.
Essential Supplies to Grow Dill Indoors Easily
To grow dill indoors easily, we need to start with the right foundation. Unlike some herbs that can survive in a shallow teacup, dill has a secret: a long, sturdy taproot. This root is like a carrot’s; it wants to go deep. If it hits the bottom of a shallow pot too soon, the plant will get stressed and likely “bolt” (flowery-speak for “quitting early and making seeds”).
The Right Container
We recommend a container that is at least 12 inches deep. While the diameter can be a modest 6 to 8 inches for a single plant, that depth is non-negotiable for taproot health. Materials like unglazed terracotta are excellent because they allow the soil to “breathe,” but any pot will work as long as it has plenty of drainage holes. Never let your dill sit in “wet feet,” or you’ll be dealing with root rot before you can say “gherkin.” Check out our indoor herb garden setup tips for more on choosing the perfect spot for your pots.
The Perfect Soil Mix
Dill isn’t overly picky, but it does best in a well-draining, fluffy medium. We suggest using a high-quality potting mix or even coconut coir, which holds moisture without becoming a swamp. Avoid using heavy garden soil from outside, as it often contains pests or fungi that thrive in the warmth of your home. For a deeper dive into the “dirt” on herbs, read our guide on soil and fertilizer for indoor herbs.
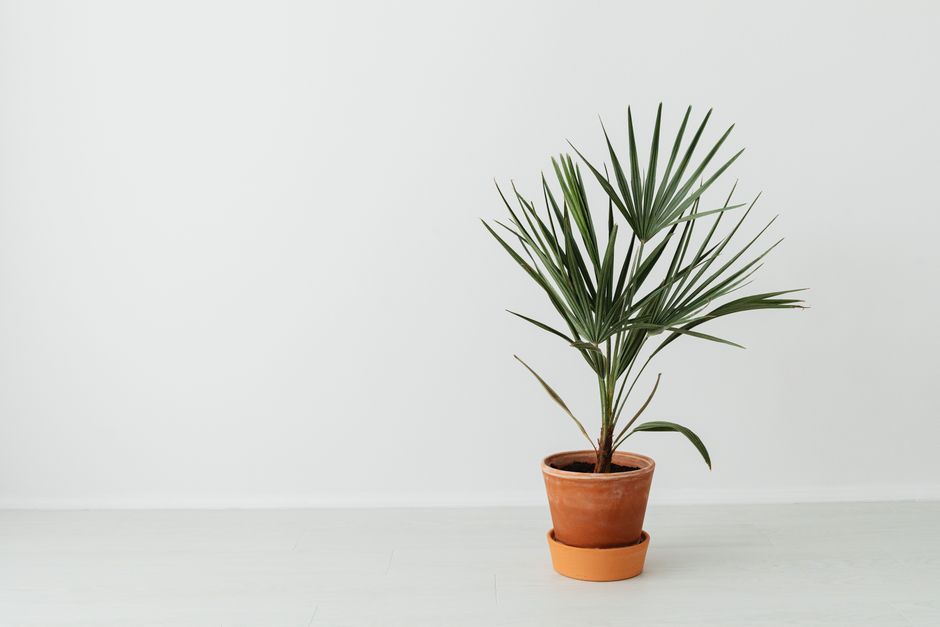
Choosing the Best Varieties to Grow Dill Indoors Easily
If you buy “Mammoth” dill seeds, you’re going to have a 5-foot-tall monster in your kitchen. Instead, look for compact or “dwarf” varieties.
- Fernleaf: This is the gold standard for indoor growing. It stays under 18 inches, grows bushy rather than tall, and is slow to bolt.
- Dukat: A great choice if you want plenty of foliage for salads and dips. It’s very aromatic and fits well in containers.
- Bouquet: Excellent if you eventually want to harvest seeds for pickling, though it grows a bit taller than Fernleaf.
Starting with easy herb seeds for beginners ensures you aren’t fighting an uphill battle from day one.
Lighting and Temperature Requirements
Dill is a sun worshipper. To grow dill indoors easily, your plant needs at least 6 to 8 hours of direct sunlight daily. A south- or west-facing window is usually your best bet. If your home is a bit dim, don’t worry! You can use grow lights for indoor herbs. Under artificial LED or fluorescent lights, dill needs about 12 hours of “on” time to mimic a sunny day.
Temperature-wise, dill prefers the “Goldilocks” zone—not too hot, not too cold. Aim for 60°F to 75°F (15°C-24°C). Keep your pots away from drafty windows in the winter and cooling vents in the summer. According to the UMN Extension, indoor dill often grows a bit taller and spindlier than its outdoor cousins because light levels are lower, so be prepared to provide a little extra TLC.
Step-by-Step Guide to Planting and Care
Ready to get your hands dirty? Planting dill is straightforward because the plant actually hates being moved. We always recommend “direct sowing”—meaning you plant the seeds exactly where they will live their whole lives.
| Feature | Full-Size Dill | Dill Microgreens |
|---|---|---|
| Pot Depth | 12 inches minimum | 2-3 inches |
| Spacing | 4-6 inches apart | Densely scattered |
| Time to Harvest | 6-8 weeks | 14 days |
| Primary Use | Fresh leaves and seeds | Garnishes and salads |
How to Plant
- Prepare the soil: Fill your pot with moistened potting mix, leaving about an inch of space at the top.
- Sow the seeds: Scatter seeds on the surface. If you’re going for a full plant, space them about 2 inches apart (you’ll thin them later).
- Cover lightly: Cover with just 1/4 inch of soil. Dill seeds need a little light to trigger germination, so don’t bury them deep.
- Mist: Use a spray bottle to dampen the top layer without washing the seeds away.
- Wait: Germination typically takes 7 to 14 days. If you’re starting herbs from seeds indoors, patience is your best friend.
Once the seedlings are about 2 inches tall, “thin” them by snipping the smaller ones with scissors, leaving about 4 to 6 inches between the strongest plants. This gives the survivors enough room to breathe and grow. For more general advice, see our guide on how to start an indoor herb garden.
Ideal Conditions to Grow Dill Indoors Easily
Dill likes a bit of humidity—around 40-50%. If your home is very dry (especially in winter), placing the pot on a tray of pebbles with a little water can help. Just make sure the pot isn’t sitting in the water. Good air circulation is also vital; a small fan nearby can prevent stagnant air, which is an invitation for mold. If you’re worried about dry air, check out these humidity tips for indoor herbs.
Watering and Feeding Your Indoor Herb
The most common way to kill dill is with “kindness” (overwatering). Use the “top-inch rule”: stick your finger into the soil. If the top inch feels dry, it’s time for a drink. When you do water, use the “deep watering method”—pour until water comes out of the drainage holes at the bottom. This encourages those long taproots to grow downward. Avoid these indoor herb watering mistakes to keep your plants happy.
As for food, dill isn’t a heavy eater. Use a liquid fertilizer at half-strength every 4 to 6 weeks. Over-fertilizing can actually dilute the flavor of the leaves, making them taste “grassy” rather than “dilly.” Follow our indoor herb fertilizer guide for the best results.
Maintenance, Pruning, and Troubleshooting
As your dill grows, it might start to look like a teenager going through a growth spurt—a bit tall and awkward. To keep it bushy and productive, you’ll need to do some light maintenance.
Pruning for Bushiness
When your plant is about 6 to 8 inches tall, you can start pinching off the top inch of the main stem. This tells the plant to stop growing “up” and start growing “out,” resulting in more feathery leaves for your kitchen. Regular pruning for healthy growth also delays the plant from flowering.
Staking
Because indoor light isn’t as intense as the sun, indoor dill can become “leggy” or top-heavy. If your plant starts to lean, gently tie the main stem to a small bamboo stake or even a chopstick using soft twine. This prevents the stem from snapping under its own weight.
If your plant is struggling despite your best efforts, our indoor herb growth troubleshooting guide can help you identify the culprit.
Managing Pests and Diseases
Indoor plants aren’t immune to bugs. The most common visitors are:
- Aphids: Tiny green or black insects that cluster on new growth. You can usually wash them off with a gentle spray of water or use an organic insecticidal soap.
- Spider Mites: If you see tiny webs between the leaves, you’ve got mites. They hate humidity, so regular misting can help prevent them.
- Powdery Mildew: This looks like a dusting of white flour on the leaves. It’s caused by poor air circulation and high humidity.
For a chemical-free home, try these indoor herb pest control tips and learn about preventing mold in indoor herb gardens.
Harvesting and Preserving Your Homegrown Dill
The moment of truth! You can start harvesting dill leaves as soon as the plant has enough foliage to spare—usually around 6 to 8 weeks after planting.
How to Harvest Leaves
Always harvest the older, outer leaves first. Use sharp scissors to snip the feathery fronds close to the main stem. A good rule of thumb is to never take more than one-third of the plant at a time. This ensures the plant has enough energy to keep growing. The RHS Guide notes that regular harvesting actually delays flowering, giving you a longer leaf-harvesting window.
Collecting Seeds
If you want to make pickles, you’ll need the seeds. Let the plant flower (it will produce beautiful yellow “umbels”). Once the flowers fade and the seeds turn tan or brown, cut the entire flower head off and place it upside down in a paper bag. After a week or two, the seeds will fall to the bottom of the bag, ready for your spice jar.
Preservation Tips
Fresh is always best, but if you have a bumper crop, you have options:
- Freezing: Chop the leaves and place them in an ice cube tray with a little water or olive oil. Drop a “dill cube” into soups or stews later!
- Air Drying: Hang small bunches upside down in a cool, dark place. However, be warned: dried dill loses much of its aromatic punch.
- Refrigeration: Wrap fresh sprigs in a damp paper towel and keep them in a sealed bag in the crisper drawer.
For more ideas on using your harvest, see our list of the best indoor herbs for cooking.
Frequently Asked Questions about Indoor Dill
Why is my indoor dill falling over?
This is almost always due to insufficient light. When dill doesn’t get enough light, it stretches toward the nearest window, becoming “leggy” and weak. To fix this, move it to a brighter spot or lower your grow light to about 6 inches above the plant. You may also need to provide physical support with a stake.
Can I grow dill as microgreens?
Yes! In fact, it’s one of the fastest ways to enjoy the flavor. Sow seeds densely in a shallow tray (only 2-3 inches of soil needed). Keep them moist and in a warm spot. You can harvest them in about 14 days when they are 1 to 2 inches tall. They are packed with nutrients and have an intense, concentrated dill flavor.
How do I stop my dill from bolting?
“Bolting” is when the plant decides its life is over and rushes to produce seeds. This is usually triggered by heat stress or the roots hitting the bottom of a small pot. To prevent this, keep your dill in a cool area, use a deep 12-inch pot, and keep the soil consistently moist. Snipping off flower buds as soon as they appear can also buy you a few more weeks of leaf production.
Conclusion
At FinCapitaly, we believe that bringing a bit of nature into your home shouldn’t be a stressful chore. Growing dill indoors easily is a fantastic way to embrace sustainable living, save money on groceries, and elevate your cooking with flavors that just aren’t available in the spice aisle.
Whether you’re a seasoned gardener or someone who has never successfully grown a pet rock, dill is a forgiving and rewarding companion. Start with a deep pot, a sunny window, and a little bit of patience. Before you know it, you’ll have a forest of feathery fronds ready for your next culinary masterpiece.
For more inspiration, check out our beginner-friendly herb garden ideas or explore the best herbs to grow indoors to start building your own indoor oasis today!
